No products in the cart.
Return To Shop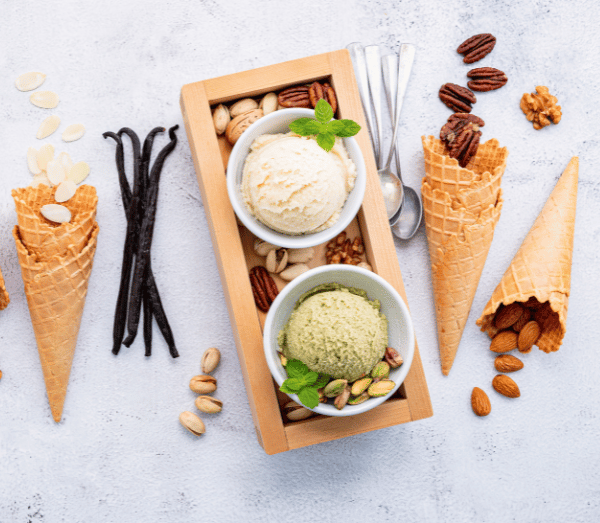
Vanilla Bean Ice Cream: A Classic Treat with a Luxurious Twist
Vanilla bean ice cream is the epitome of indulgence, a timeless dessert that never goes out of style. With its creamy texture and rich vanilla flavor, this ice cream is perfect on its own or as the ideal companion to your favorite desserts—think warm apple pie or a fudgy brownie. The secret to this irresistible recipe? Using premium vanilla beans, which infuse the ice cream with a deep, aromatic flavor that elevates it to new heights. Trust us, once you try this homemade version, store-bought will never be the same.
Why Use Vanilla Beans?
Using whole vanilla beans adds a depth of flavor that simply can’t be matched by extracts or artificial flavors. The tiny seeds, known as vanilla caviar, disperse throughout the ice cream, providing not just flavor but also a visually appealing speckled appearance. By choosing high-quality vanilla beans, you ensure that every bite is filled with pure, fragrant vanilla.
What You’ll Need
4 Egg Yolks
3/4 Cup Sugar
2 Vanilla Beans
2 Cups Milk
2 Cups Heavy Whipping Cream
Ice Cream Machine
Step-by-Step Guide to Making Vanilla Bean Ice Cream
Step 1: Prepare Your Pan
01. Line the Pan
Before you start with the ice cream base, line an 8×8 square pan with non-stick aluminum foil or parchment paper. If you choose parchment paper, lightly grease it with oil spray to ensure easy removal later.
Step 2: Make the Egg Yolk Mixture
01. Mix the Egg Yolks and Sugar
In a medium-sized bowl, whisk together the egg yolks and sugar. Continue whisking until the mixture becomes pale yellow and forms thick ribbons when you lift the whisk. This step ensures a creamy, rich texture in your final ice cream.
Step 3: Infuse the Milk and Cream with Vanilla
01. Prepare the Vanilla Beans
Split the vanilla beans lengthwise and scrape out the seeds (the caviar) using the back of a knife. Add both the seeds and the empty pods to a medium-sized pot.
02. Heat the Milk and Cream
Pour the milk and heavy whipping cream into the pot with the vanilla. Place the pot over medium-low heat and bring the mixture to a gentle simmer, stirring frequently. Allow it to simmer for about 7 minutes, letting the vanilla infuse into the liquid.
Step 4: Combine the Mixtures
01. Temper the Egg Yolks
After the milk and cream have simmered, remove the pot from the heat and let it sit for about 20 minutes to cool slightly. Slowly whisk the warm cream mixture into the egg yolk and sugar mixture, a little at a time. This tempering process prevents the eggs from curdling.
02. Cook the Custard
Pour the combined mixture back into the pot. Cook over low heat, stirring continuously with a wooden spoon until the mixture thickens and coats the back of the spoon. Be careful not to let the mixture boil, as this can cause it to curdle.
Step 5: Chill the Custard
01. Cool the Mixture
Once the custard has thickened, pour it into a large, clean bowl—preferably a 1-liter glass Pyrex measuring cup for easy pouring later. Cover the bowl and refrigerate the custard until it is completely cold. This process usually takes around 6 hours or more, so plan accordingly.
Step 6: Churn the Ice Cream
01. Churn the Custard
Once the custard is thoroughly chilled, pour it into your ice cream machine. Follow the manufacturer’s instructions for churning, which typically takes about 22 to 25 minutes. The result should be a luscious, creamy ice cream with a beautiful vanilla bean flavor.
Enjoy Your Homemade Vanilla Bean Ice Cream
After the ice cream has been churned to perfection, it’s ready to be enjoyed! Serve it immediately for a soft-serve texture, or transfer it to the lined pan and freeze it for a firmer consistency. Whether you savor it on its own or pair it with your favorite dessert, this vanilla bean ice cream is sure to become a staple in your recipe collection. With every spoonful, you’ll appreciate the simple yet luxurious flavor that only real vanilla beans can deliver.